There’s something timeless and magical about wedding photos captured in natural light. The way sunlight filters through trees, dances across a bride’s veil, or glows against a golden-hour sky brings authenticity and emotion to every frame.
Table of Contents
Natural light photography not only highlights the genuine beauty of the day, but it also reflects the candid joy and raw emotion that make each wedding unique.
Whether you’re a couple dreaming of luminous, outdoor portraits or a photographer looking to refine your natural light skills, these tips will guide you in making the most of every sunlit moment.
1. Plan Around the Light—Not Just the Timeline
Wedding days can be tightly scheduled, but when possible, plan key photo moments around the best light of the day. The golden hour, typically an hour after sunrise or an hour before sunset, is the sweet spot. During this time, the light is soft, warm, and flattering.
Pro Tip:
- For portraits, schedule a 20–30 minute session around golden hour.
- Use the Sun Seeker app while scouting the venue to understand how natural light interacts with the environment throughout the day.
2. Choose the Right Locations
Location plays a huge role in how natural light falls on your subjects. Open shade, like the area beneath tall trees or beside a building, offers consistent, diffused lighting without harsh shadows. If you’re shooting in midday, when the sun is overhead and most intense, shaded areas will be your best friend.
However, one often-overlooked factor is how light reflects off surrounding surfaces. For example, a tree-lined path may seem perfect, but if it’s also surrounded by lush green grass, the reflected light can cast a green tint on your subjects’ skin. Even during golden hour, the ambient light will still pick up color from the environment, so green surroundings will bounce green light.
Look for:
- Tree-lined paths
- Covered porches
- North-facing windows
- Open fields with soft backgrounds
These areas provide flattering light, allowing photographers to exercise creative control over direction and mood.
Indianapolis wedding photographer and owner of Bohemian Lights Photography, Rachel Sitarz, recommends seeking out spaces that naturally complement the light, rather than competing with it. Look for areas where light flows gently—places with open skies, clean backgrounds, or foliage that filters sun without creating distracting patterns.
It’s also key to remember that everything reflects light and color. Just like water looks blue because it reflects the sky, surroundings can cast color onto your subject. That’s why Rachel often faces clients toward neutral surfaces, like a white or beige wall, to bounce clean, flattering light onto the skin.
3. Backlighting for a Dreamy Glow
Backlighting is a popular technique in natural light wedding photography. It involves positioning the sun behind your subject, which creates a halo effect and gives images a romantic, ethereal feel.
How to do it:
- Expose for the skin tones, not the sky, to prevent subjects from becoming silhouettes.
- Use a lens hood or your hand to prevent lens flare—or embrace a little flare if you’re going for an artistic effect.
- Slightly underexpose the background to maintain a dreamy, soft look without losing detail in the couple’s faces.
4. Overcast? Don’t Worry—It’s a Natural Softbox
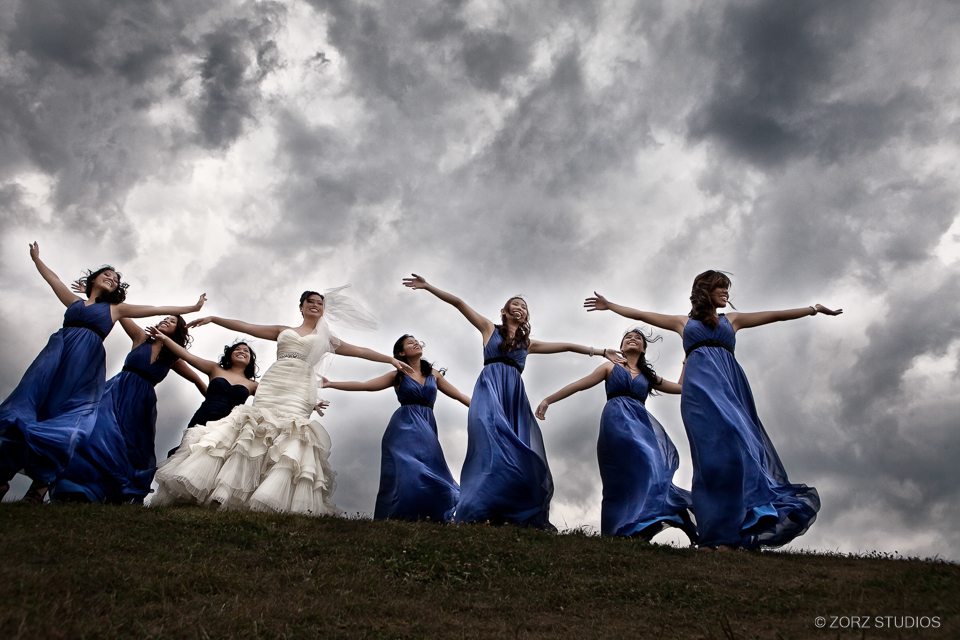
Many couples worry about cloudy wedding days, but overcast skies can actually be a photographer’s dream. The clouds act as a giant softbox, creating soft, even light that eliminates harsh shadows and evens out skin tones.
In fact, some photographers prefer grey skies, they offer more control and flexibility. It’s often easier to warm up a grey scene in post than to fix overly bright, blown-out highlights from harsh sunlight. With diffused light, you can create a golden, romantic look even without the sun.
Others, however, embrace the unique dramatic potential of a cloudy sky, viewing it not as a drawback but as an opportunity. With advanced post-processing techniques, they transform overcast conditions into powerful, moody backdrops that add depth, emotion, and atmosphere—often achieving a level of visual drama that’s simply impossible under a clear, sunny sky.
Bonus:
- You can shoot in any direction without worrying about the sun’s position.
- Colors tend to pop more vividly under diffused lighting.
5. Work With Window Light Indoors
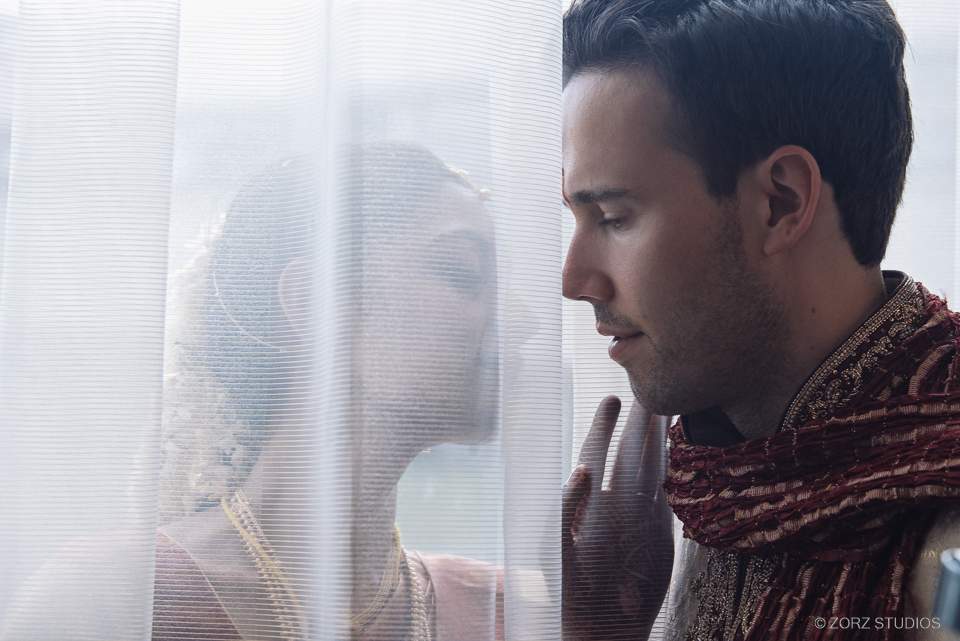
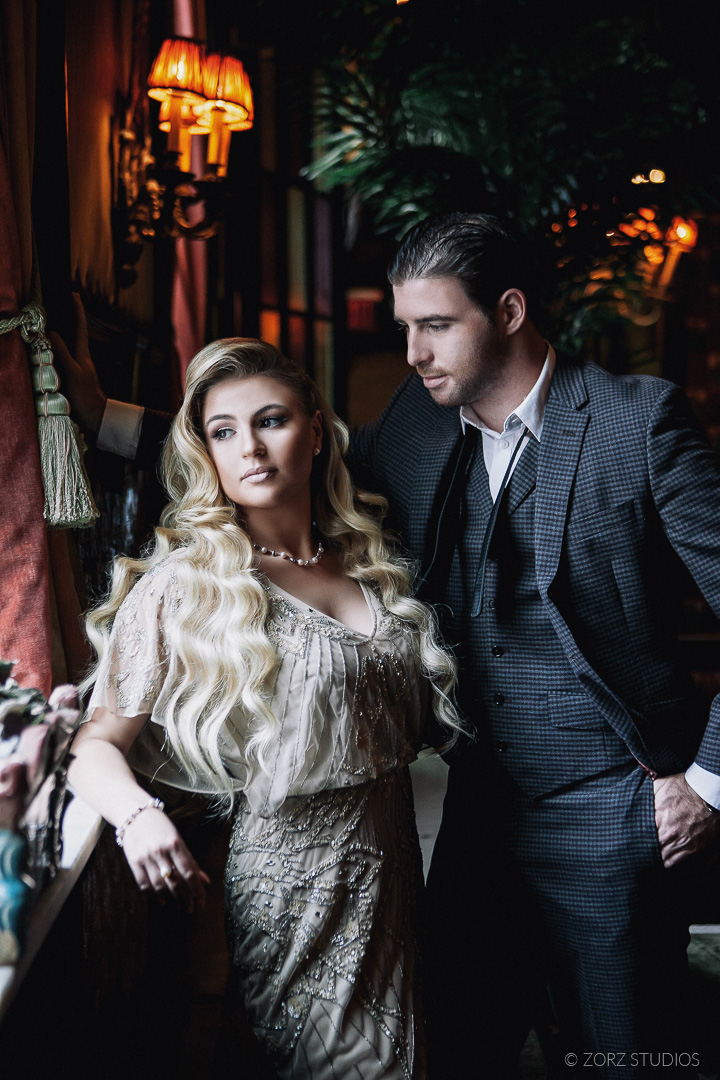
Natural light isn’t only for outdoor shots. Indoor portraits, especially bridal preparations or first-look moments, can look stunning when using window light.
Tips for using window light:
- Turn off overhead lighting (it creates unflattering color casts and shadows).
- Position the subject so they are lit from the side, not straight on.
- Use white curtains or sheers to soften the light if it feels too intense.
Keep an eye on the background to avoid distracting elements, and always expose for the highlights in the bride’s dress or the groom’s face.
6. Mind the Shadows
Natural light is dynamic and ever-changing, especially during outdoor ceremonies and
receptions. One of the biggest challenges is managing shadows, particularly when shooting under trees or in uneven lighting conditions.
Dappled light caused by leaves can create unwanted patterns across faces, and direct overhead sun often leads to “raccoon eyes,” where eye sockets are deeply shadowed. This is especially common during midday ceremonies, like those held at 2 p.m. on a bright July afternoon, where avoiding harsh light isn’t always an option.
Avoid:
- Patchy or dappled lighting across faces
- Overhead sun casting shadows under brows and noses
When possible, reposition your subject or use a simple diffuser or portable reflector to soften the light. A white sheet can also help even things out.
That said, don’t stress if it’s not perfect in the moment—many shadow issues can be easily fixed in post-processing. Tools like Lightroom’s shadow removal brush are incredibly effective and often the go-to solution when lighting can’t be fully controlled on the day.
7. Use Reflectors Strategically
Reflectors are an essential tool when shooting in natural light. They bounce sunlight back onto the subject, reducing shadows and adding a soft glow.
Best uses:
- Add warmth to backlit shots using a gold reflector.
- Fill shadows on faces during midday sessions.
- Light up a subject’s eyes to make them sparkle.
You don’t always need a formal setup. Sometimes, even a white t-shirt can serve as a makeshift reflector, especially during non-wedding shoots. Neutral surfaces like the side of a building, a pale wall, or even a light-colored car can also bounce clean, soft light back onto your subject in a pinch. And for portraits, a foldable reflector and a helpful assistant (or the groom!) can go a long way.
8. Know Your Camera Settings
Natural light changes constantly, so having solid camera control is key to nailing exposure in every setting. Shooting in Manual mode gives you full creative control and allows you to adapt quickly to shifting light.
A common and effective approach is to:
- Keep ISO at 100 for as long as possible to reduce noise
- Set aperture around f/2 to f/2.8 for a dreamy, shallow depth of field
- Adjust shutter speed as needed to achieve proper exposure
Rather than relying on auto white balance or presets, consider using the Kelvin scale to manually set color temperature. For outdoor sessions, 6500–7000K adds warmth and depth to the image, while indoor light may call for around 5500K. White balance can always be fine-tuned during editing, but getting it close in-camera helps maintain consistency.
And don’t just trust your LCD screen, your histogram is one of your most powerful tools. It gives a true picture of exposure and helps ensure you’re not over- or underexposing, especially in tricky lighting conditions.
9. Let Moments Happen Naturally
One of the best parts of natural light photography is how beautifully it captures candid, in-between moments. While it’s important to get a few classic “look-at-the-camera” shots (the ones you show Grandma!), the real magic often happens right after.
Encourage the couple to move naturally—walk, laugh, whisper, or dance. Motion leads to genuine expressions: authentic glances, real smiles, and joyful reactions that stiff poses just can’t deliver. Pair those moments with soft, natural light, and you’ll end up with images that feel honest, warm, and full of life.
10. Embrace the Imperfections
Natural light isn’t always predictable, and that’s part of the beauty. A sudden breeze, a shifting shadow, or an unexpected burst of sunlight can add depth and personality to your photos. These moments, while unplanned, often lead to the most memorable images.
That said, a little awareness goes a long way. Pay attention to the direction of the wind and position the bride so her hair and dress flow naturally with it. This simple adjustment turns chaos into elegance and allows the scene to feel effortless rather than messy.
Some of the most stunning shots are born from spontaneity, like a veil catching the wind or golden sunlight wrapping around a couple during their first dance.
Final Thoughts
Capturing stunning natural light wedding photos is about more than just timing the sun. It’s about observation, intuition, and connection. When you understand how to work with the light rather than against it, you’ll uncover a world of artistic possibilities.
Whether you’re planning your big day or perfecting your photography style, remember: natural light doesn’t just illuminate—it tells a story.


