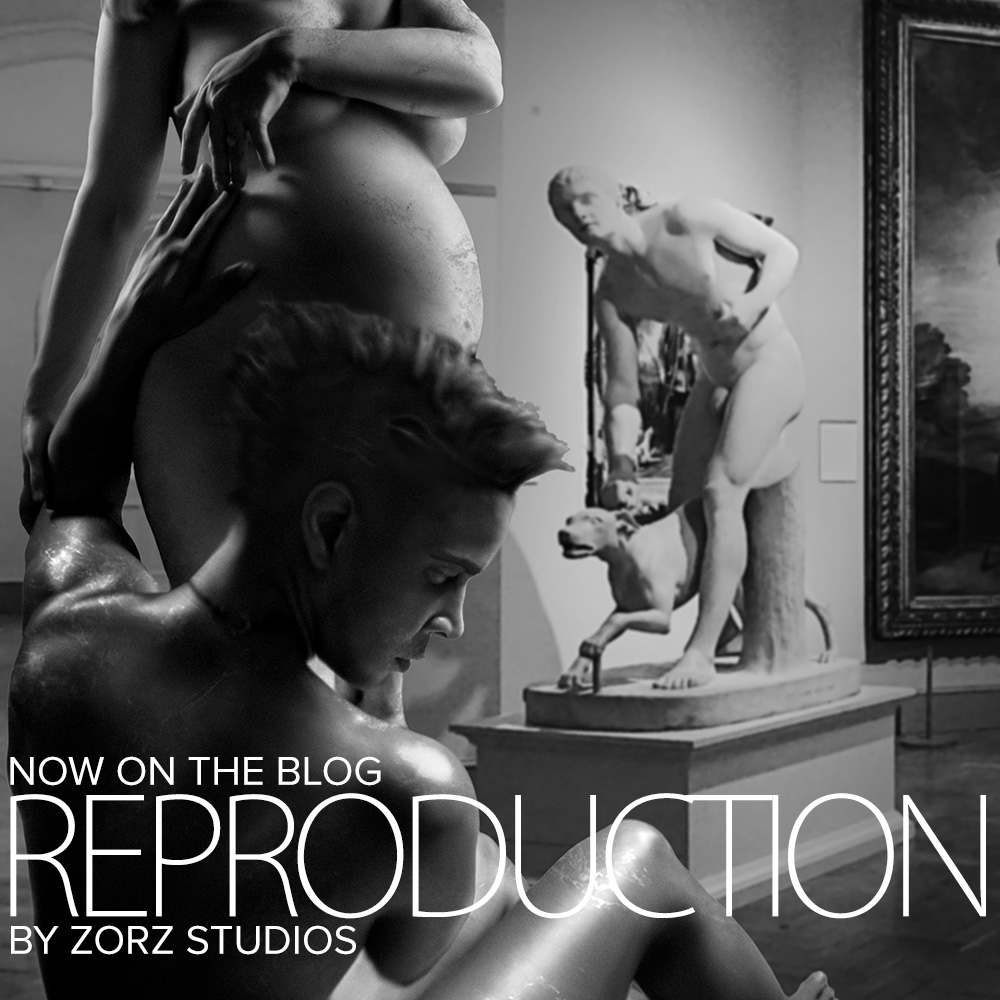
A nude maternity session turned a photo into statue for a sculptural storytelling of the Greco-Roman period.
I told you I’m not done with the cool maternity sessions this productive year yet…
Here’s a unique couple that has a grip on outstanding photography. I did not do their wedding photography, but they picked one of the world’s top masters of the craft, Two Mann Studio. Their honeymoon was done by yet another creative team. Now time came for a maternity shoot and they found me in June.
The Theme
I help my clients develop themes and ask about their lifestyle and interests to get me started on ideas. We had such chat and feeling that the guys are open to experimentation, I encouraged them to be bold in self-expression. I doubt they needed any encouragement, though… I expected something different, but they floored me with their concept when they followed up a few days later. Instead of just giving me a list of interests, they delivered an already developed theme, “sculptural storytelling”:
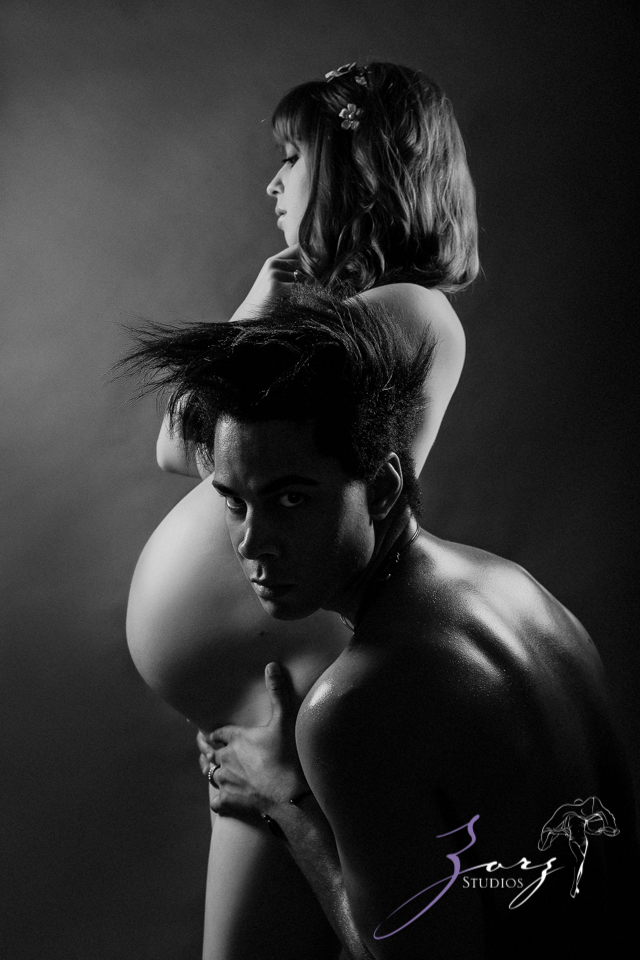
“…Our love and fascination with Greco and Roman sculpture… emphasizes the art, form, nudity, suppleness and beauty of the body in dramatic pose to tell a story… Our idea is that the maternity images are not intended be overtly sensual or implicitly sexual, but rather, artistic in way to expose the form, shape, and suppleness of the body.”
I mean… what else do I need to hear?? I got my creative thinking going, we set the date, and one August day I rolled my portable studio equipment into their cozy Manhattan apartment. Moved a few pieces of furniture in their living room and worked for two hours. Because we had a set vision in mind, I did not need much more time, focusing on just varying and perfecting the target art pieces.
“A-Ha!” Moment
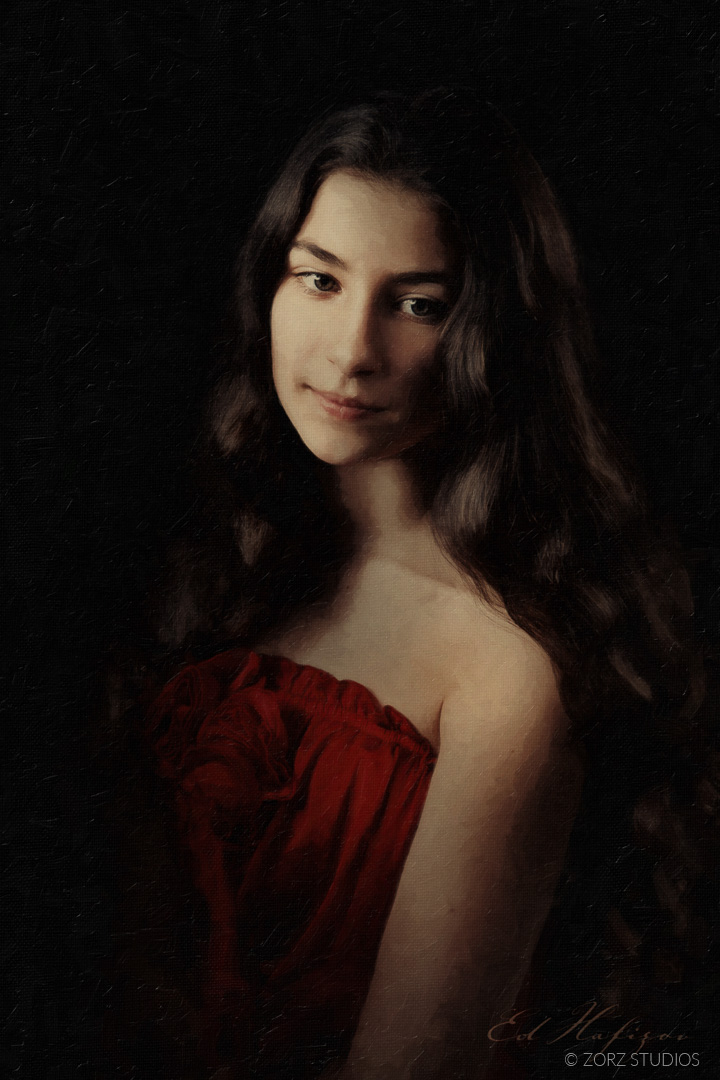
Right prior to working on their shoot, an idea hit me… What if besides the photography that is inspired by Greco-Roman sculpture — in that of depicting dramatic storytelling poses of Adam and Eve, Apollo and Daphne, Cupid and Psyche — I convert a photo into statue? I do a conversion to painting (check out below) and other digital fantasy art, so sculpture could be next… Little did I know how more challenging it is.
Photoshop Tools
Let this be another informal Photoshop tutorial. The previous one told a story of salvaging a ruined shot of backfiring R8 to throw papers into a fire tornado.
I first checked if there is a tool or plugin to do a high-quality conversion of a photo into statue. Something was telling me there wasn’t as otherwise this artwork could be abundant. You can find transformations here and there as some niche tools attempt to do this, but the results are crude, if not weird. I found nothing robust.
As suspected, this job would require an extensive manual labor. I watched several tutorials and rolled up my sleeves.
In a nutshell, you use Photoshop Smudge tool to turn wrinkled and porous skin into a smooth cold surface, inch by inch, deciding on a degree of application based on anatomy. Blur tool helps around the edges. Dodge and Burn tools are critical to enhance the dimension.
Tougher and Toughest
Eyes are the key to make it look like a classical sculpture. The irises need to be missing. I used the Clone tool to fill in the eyeball. The most challenging part was hair. I left it for last and frankly, was already in a time crunch. There is no easy and believable way to turn thin hair into a solid mass of stone… I contemplated on an idea of pasting hair from other sculptures to make it easier. Several more frustrating hours, though, and I got her hair.
His hair styling was trickier, and I struggled. It was the most unrealistic part if only using the same Smudge technique. I kept trying different approaches on top of it and settled on a Plastic Wrap filter.
Background
With the base ready, I did a quick black and white conversion and started looking for the background replacement. Having the goal to place the statue into a fitting environment, I searched for stock images of museums and art galleries, also converted to B&W. Did a cutout of the statue and tried it on to see how they all feel. Went over a dozen before finding the best.
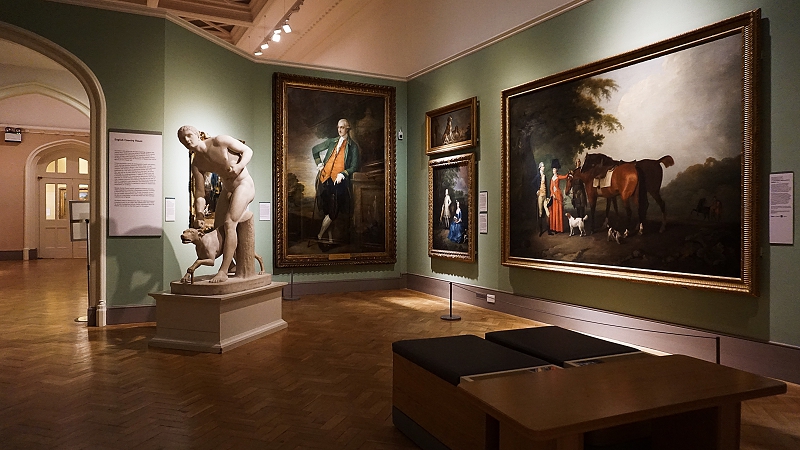
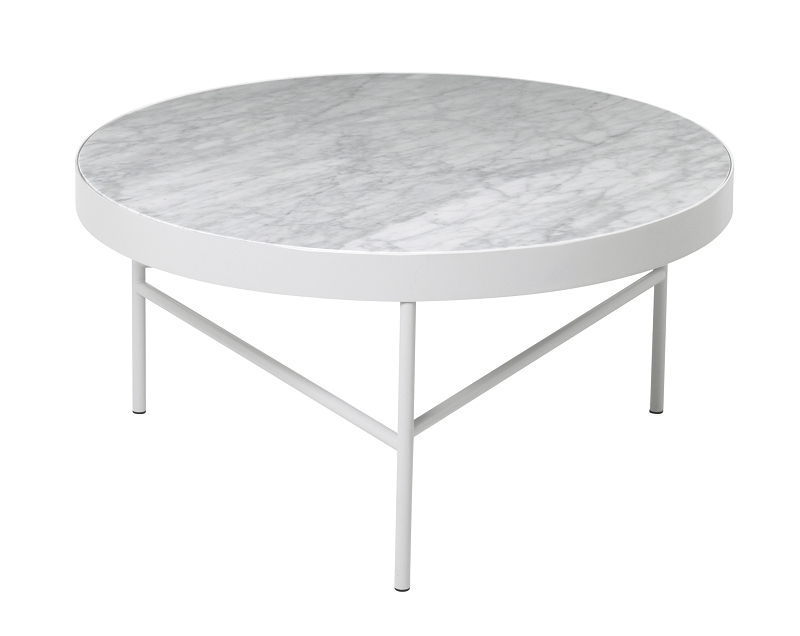
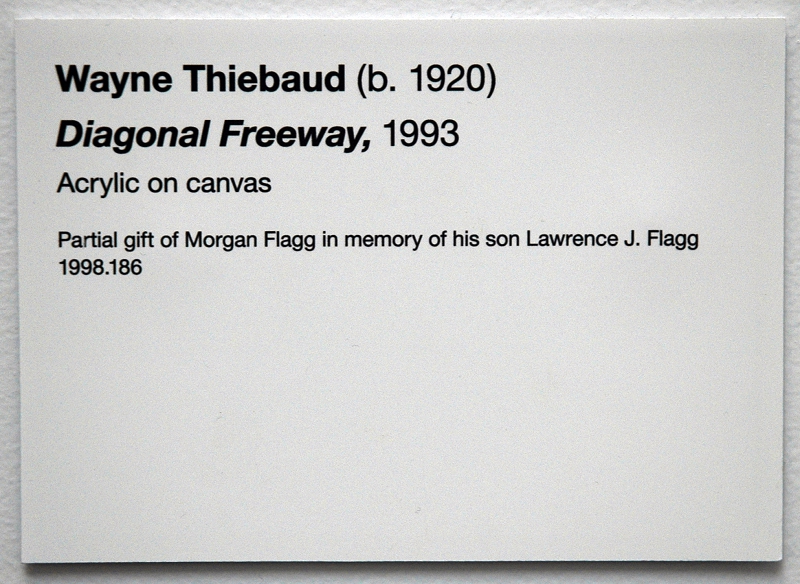
Now that I had an idea of a background, I went back to the statue. Decided to give it a touch of a marble texture. Next, I slowly worked along the cutout to blend it smoothly on a pixel level by using Clone tool. I then found a marble table stock image to use as the statue base. Painted in the shadows and added the museum label, using a Free Transform tool for the right shape and angle.
The Gem
Overall, this photo into statue conversion took about 18 combined hours of labor. Here’s the final product as before-and-after comparison. I accept a notion that this can be done even more realistically. Since this was not a commissioned part, I used the resources I had available for my own artistic pleasure.


The Core
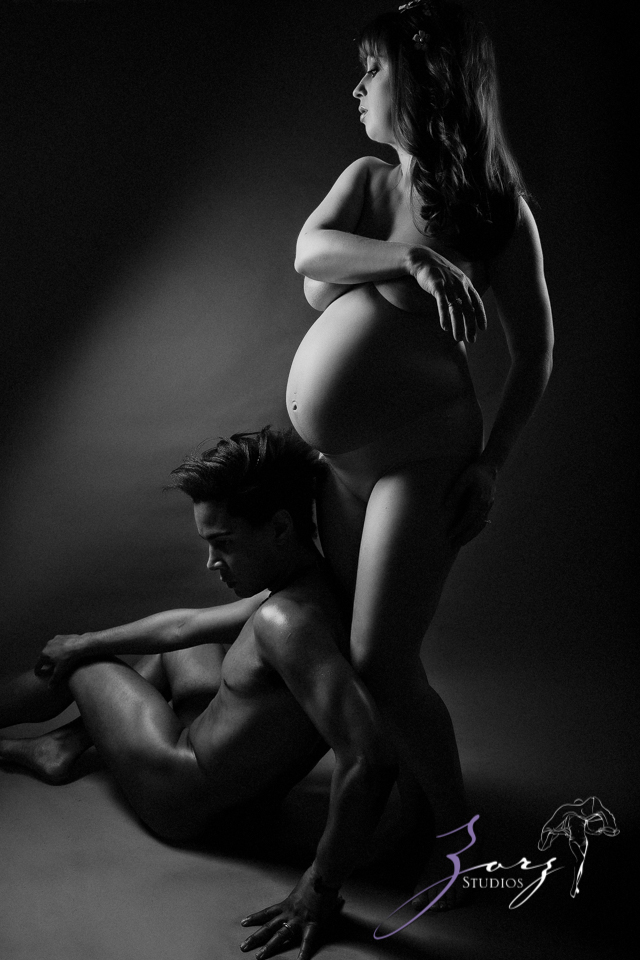
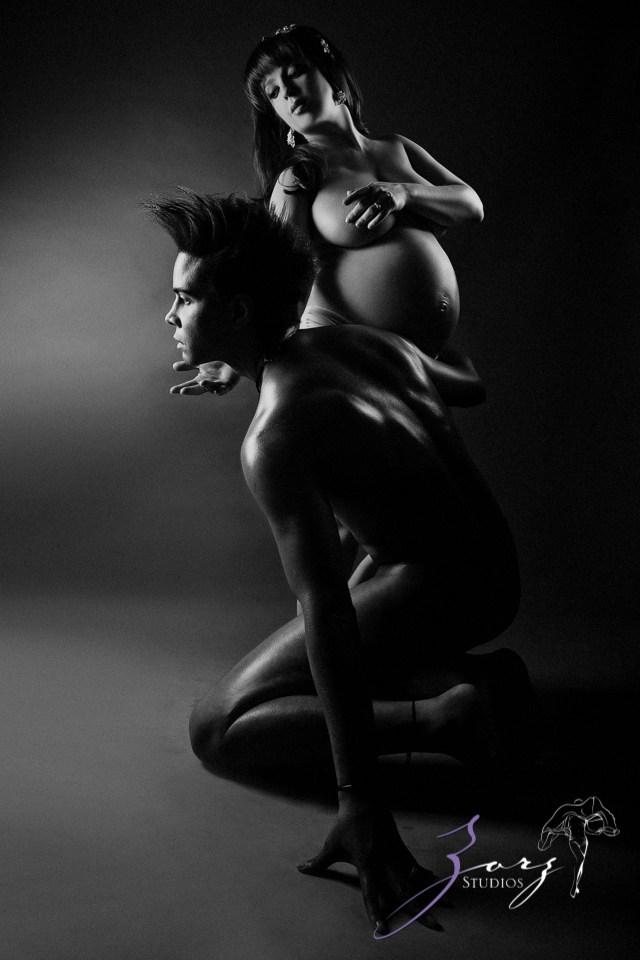
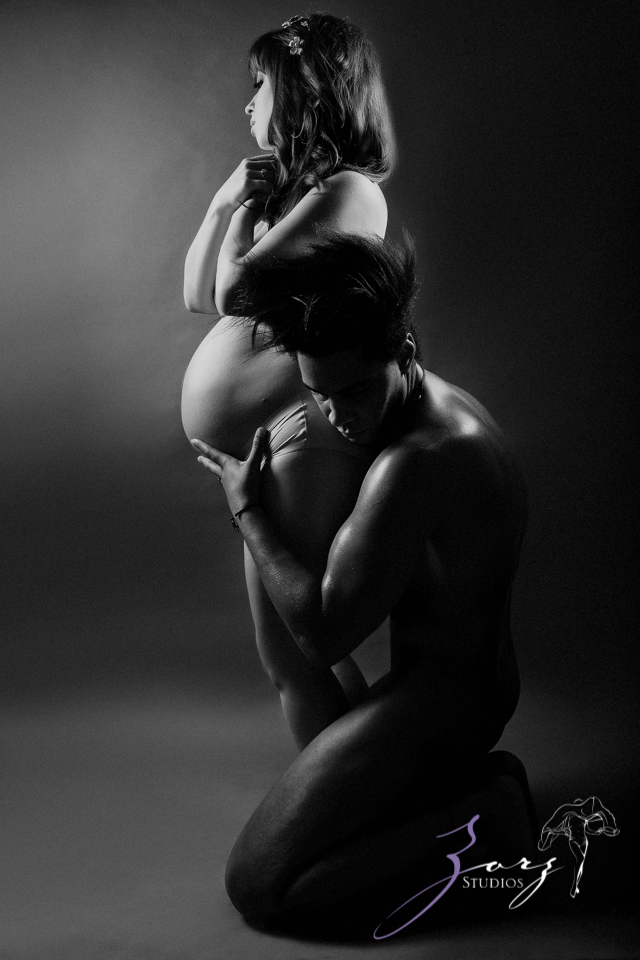
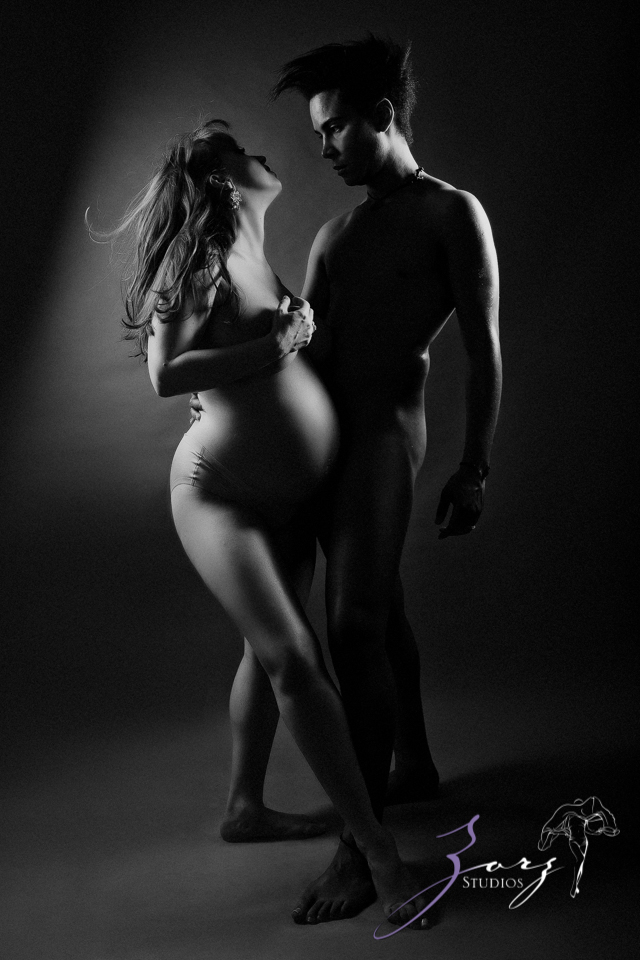
To deliver the expected set, however, I worked on the additional images which by themselves are fairly powerful and already go along with their vision. This was intended as the core collection:
Regular Shots
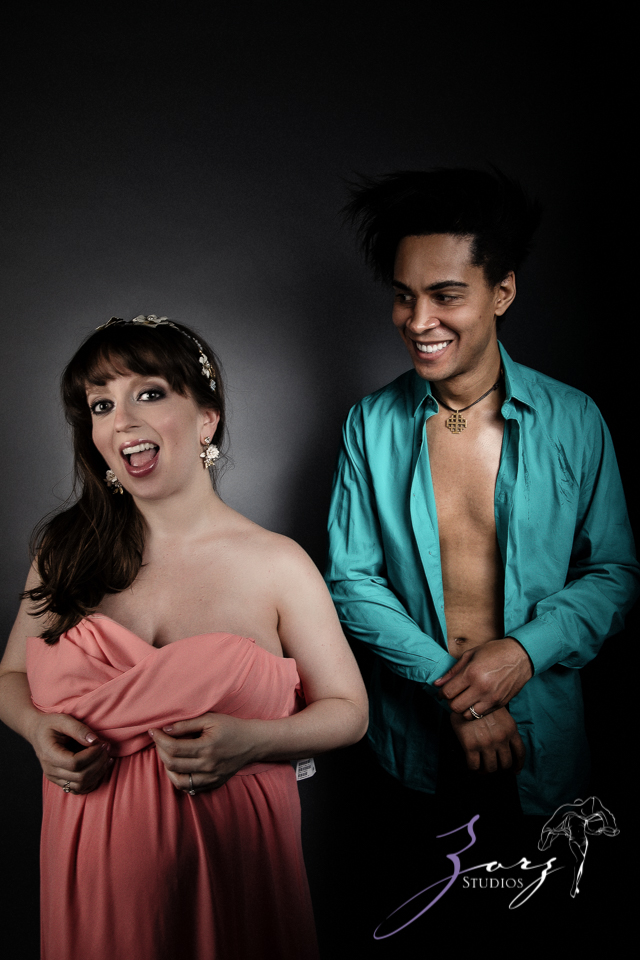
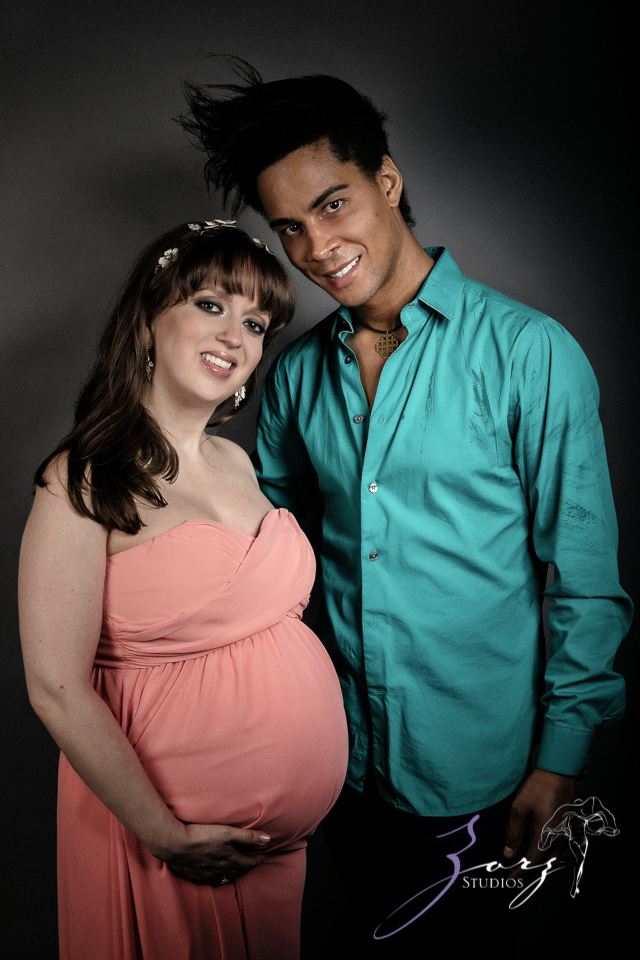
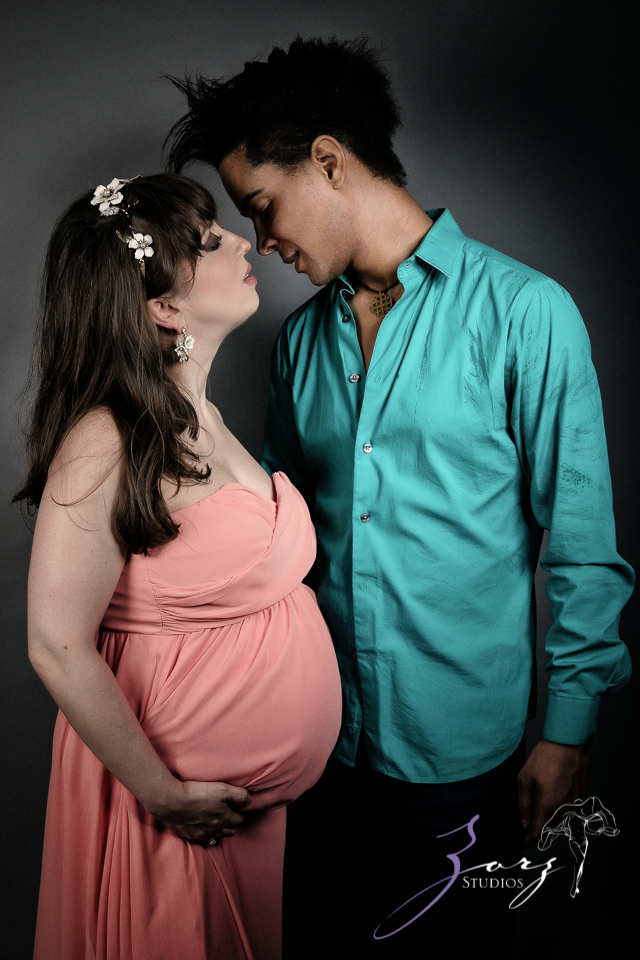
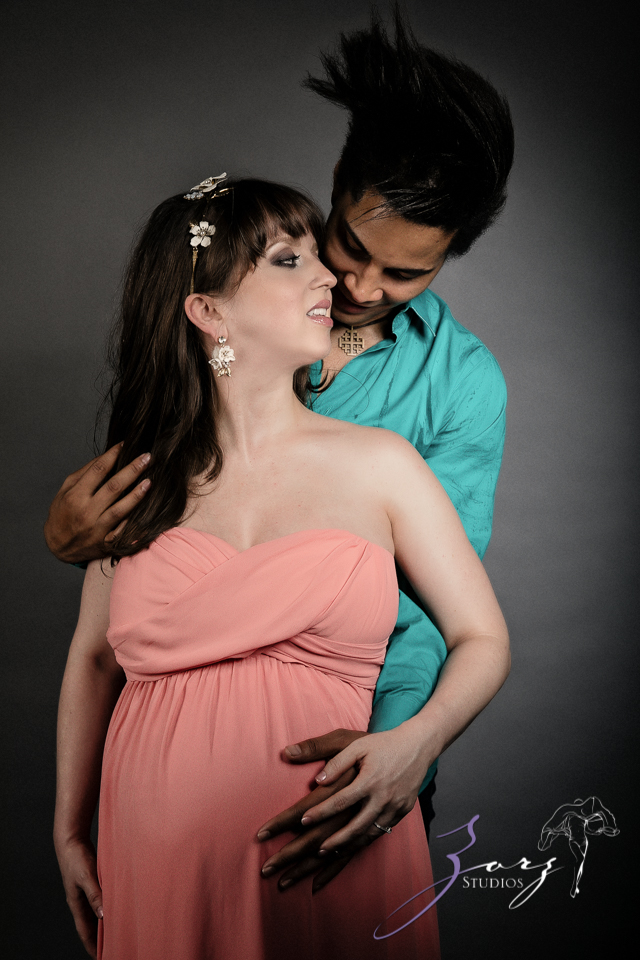
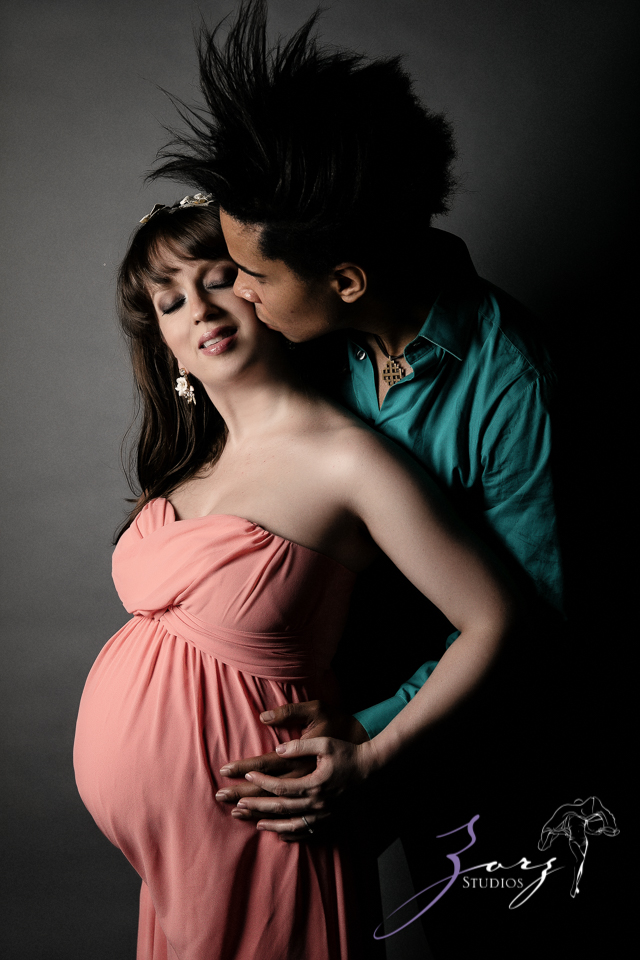
At the end of the shoot, we went for a quick dressed series for a more traditional audience:
Thank you for checking out! It was a intriguing and rewarding experiment. If you wish to try such manual photo to statue conversion, I’d love to create such art piece! Just realize, please, that such artworks fall outside of normal photography services and incur an additional creative fee to align with the extra skills, time, and impact. 🙂
Click images for full size. Kindly refrain from re-uploading images to social media during the first week of feature. Share instead and give credit to @ZorzStudios!

